MAKEUP
REVEAL YOUR GORGEOUS SELF WITH BEST MAKEUP PRODUCTS
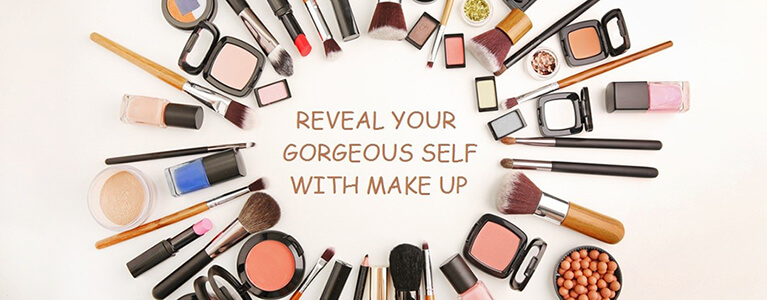
Enhance your natural beauty and live a colorful life with makeup products from Shop LC. From luxurious lipstick to mascaras, from eye shadow to foundation or eyeliner, you can find a plethora of products from our exclusive brands. Draw inspiration from our comprehensive collection and build your selection of timeless make-up products.
ACHIEVE EFFORTLESS BEAUTY WITH A WIDE ARRAY OF COSMETICS
Mask your skin flaws and achieve a smooth skin surface with foundation! You might be suffering from acne, scars, or black spots. No matter the skin defect, our makeup products would ensure that you always reveal a flawless complexion. You can also use cleansers, toners, moisturizers, and blush for a complete facial cosmetics experience.
A. HOW TO APPLY FOUNDATION
Creating a spotless foundation is the solution to any great makeup look. The following steps will guide how to achieve a perfect foundation every day.
1. PREPARING AND PRIMING YOUR SKIN
- I. Start with washing your face and cleaning your skin properly to remove dirt and oil as well as any previous makeup. Make sure to choose a cleansing product designed for your skin type.
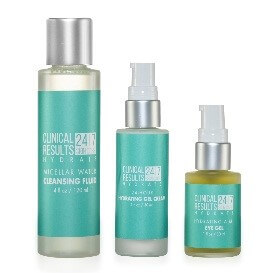
- II. Apply rich and nourishing moisturizer to prime the skin before putting on the makeup. If you have dry skin, pick a creamy moisturizer. If you have oily skin, use a gel-based moisturizer.
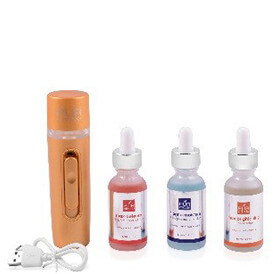
- III. Add primer to smooth out the surface of your skin and minimize the look of pores. You can select a cream, gel, or powder primer.

2. APPLY FOUNDATION WITH A FOUNDATION BRUSH
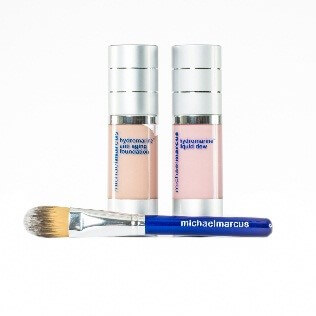
- Use a foundation brush to apply foundation starting from the center of the face and blend out.
- Spread the foundation outwards toward your hairline and neck. Use a stippling technique, which means gently tapping foundation into your skin, rather than rubbing or wiping.
- Gently blend the foundation in a rolling motion and press it into the skin.
3. CONCEALING THE BLEMISHES AND REDNESS
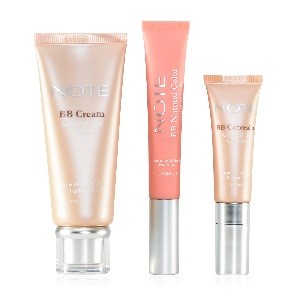
- Conceal anything that requires additional coverage with concealer. Cover up pimples, dark circles under your eyes or other blemishes.
- Blend it out by lightly tapping with your fingers, sponge or a makeup brush.
4. CONTOUR
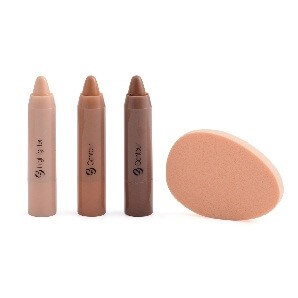
- Stick to two shades darker than your skin tone to accentuate cheekbones, sharpen jawline, and warm up the forehead.
- Blend it out with your fingers, sponge or a makeup brush and tap in small circular motions.
5. SET MAKE UP
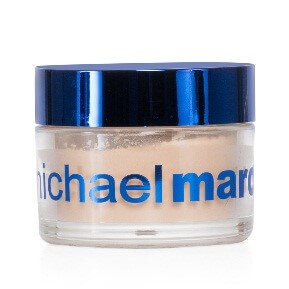
- Polish off your look by applying a translucent, matte powder over your foundation.
- Use a soft, small, and natural hair brush to set the makeup.
- Gently tap any extra product off, and then sweep the setting powder only over the areas that tend to be shiny, such as in between the eyebrows, down and around the nose, under the eye, and on the chin.
Tip: Make sure to wash your makeup brushes at least once a week. They can harbor dirt, oil, and bacteria that can clog and irritate your pores and make them more noticeable.
B. ACE YOUR BASE: FIND THE BEST FOUNDATION FOR YOU
A great foundation is a must for flawless-looking skin, but it's tricky to get it right. The following tips will assist you in finding your perfect match.
1. Pick A Product For Your Skin Type
It’s imperative to know whether you have dry, oily, and normal or combination skin before applying foundation. It’ll determine which foundation is right for you. Many foundations are mainly designed for different skin types.
- A light foundation, such as mousse is considered best for oily skin. You can also opt for an oil-free liquid or powder foundation.
- A liquid foundation with a built-in moisturizing element is perfect for dry skin. You can also choose a hydrating powder or stick foundation.
- Apply powder foundation if you have combination skin. It'll allow you to distribute more of the oil-absorbing makeup where you need it and less where you don't.
2. Choose The Right Foundation Color
Foundation is the root for the rest of your makeup. Therefore, pick a foundation that matches your skin tone identically. Try various shades of foundation on your face rather than on your hand or neck. Stick with the color that balances your skin tone without blending.
Tip: Change makeup sponges regularly if you use them to apply foundation because they can harbor germs and bacteria.
3. Get The Coverage You Want
Try on different versions of foundation to determine which feels the most comfortable and looks the most realistic on your skin
- Loose powder provides the lightest coverage.
- Pressed powder provides light coverage.
- The aerosol foundation offers medium coverage.
- The liquid foundation provides full coverage.
- The cream foundation provides the most coverage.
ACHIEVE EFFORTLESS BEAUTY WITH A WIDE ARRAY OF COSMETICS
Outline the shape of your eyes with eyeliner or use mascara to add more volume to your eyelashes. Express your attitude and emotions by creating a double layer of eye shadow colors for a trendy look.
HOW TO APPLY MASCARA PERFECTLY
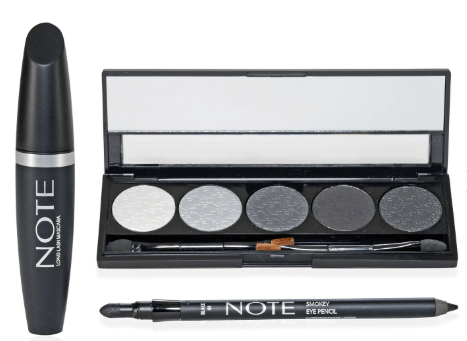
One of the simplest ways to draw attention to your eyes and create fun, flirty looks is by adding mascara to your makeup essentials. It’s an essential component in making your eyes look brighter and full of life. You can even apply mascara on the way to your destination! All you need is half a minute or so, and you will look outstanding! But, if your mascara is clumpy, uneven, or smudged – it may end up looking appalling rather than appealing. To avoid this, learn step by step procedure on how-to put-on mascara flawlessly:
1. Curl Your Lashes First
Choosing the right kind of mascara is crucial. Daytime to evening – there is a mascara that goes with just about any occasion.
- If you decide to curl your lashes, then start at the root of the lashes. Be careful not to get any skin into the eyelash curler. Hold the curler together and press for about 10 seconds and move the curler out to the end of your lashes and repeat.
- If you don't have a curler at home, use your fingertips to push up and curl wet lashes.
- To make your lashes look extra thick and voluminous, it’s best to dab and puff them with a translucent powder before applying the mascara.
Tip: It’s a big no to curl your lashes after you have applied mascara. Always curl before to achieve maximum results.
2. Get the Product On The Wand
- Take the tube of mascara, swirl the wand around to coat the bristles with the mascara properly.
- Make sure not to pump your wand into the tube repeatedly. It will push the air into the tube, making the mascara clumpy and drying out faster.
- Gently twist it back and forth or in circular motions to pick up the preferred amount of product.
3. Stripe Off Excess Mascara On A Tissue Or The Lip Of The Tube
- When you remove the wand from the bottle, make sure to wipe off any excess mascara from the wand.
- Giving it a little scrape will leave you with just the right amount of mascara.
4. Applying Mascara to Upper Lashes
- For the upper lashes, look straight frontward.
- Use the wand and place it at the base of your lashes.
- Use a back-and-forth motion while moving the wand up your lashes and sweep upward. It’ll give your lashes a curled effect.
- Continue this until you get your lashes as thick as you want, usually 2-3 coats.
5. Applying Mascara to Lower Lashes
- Slant your head forward slightly to avoid getting mascara onto your cheek.
- Use the wand and place it at the base of your lashes.
- Use the same side to side motions until you get a good coat of mascara on your lower lashes.
- In case you face a problem with mascara transferring from your lashes onto your eyelids or cheeks, use a spoon, business card, or thin wedge of a makeup sponge and hold it underneath your lower eyelashes. It’ll allow you to apply mascara without getting it all over your skin.
For most of us applying a single coat of mascara is our only goal. However, you can add that extra “oomph” by wiggling it. Pull the wand out toward the tips of your lashes with a spiral motion. It’ll add length and volume to your eyes. Once done, keep eyes closed for at least 15 to 30 seconds and let your mascara dry up. Lastly, comb your lashes to get rid of clumps and achieve the super-defined look. You can also opt for colored mascaras such as greens, purples, orange, and wine reds if you’re going for a trendy eye look.
Tip: Don’t use waterproof mascara regularly because wiping it off requires a significant amount of cleanser and rubbing your eyelids can give you wrinkles and gradual loss of lashes.
LET YOUR LIPS DO THE TALKING WITH A PLETHORA OF LIP CARE PRODUCTS
Experiment with various shades of lipstick to highlight your luscious lips.
HOW TO SELECT AND APPLY LIP COLOR
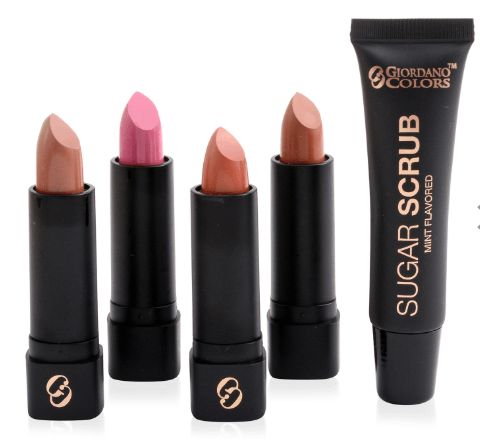
Lipsticks have always been the quintessential makeup item for beauty. With so many lipsticks to choose from, many times women find it daunting to select the best color and texture for their complexion. From matte to gloss, or stick to liquid type, lipstick texture can drastically alter the finish and impression of the lips.
SELECTING THE LIP COLOR
1. How to Pick the Right Shade of Lipstick
To find an ideal and versatile lip color palette, try to pick the colors that gel perfectly with your skin tone and the final appearance you plan to achieve. Knowing your skin tone is enormously helpful when you're trying to figure out which lipsticks look best on you. The following guidelines explain how the right shades can make your skin look more radiantly beautiful.
- If you’ve a fair skin tone, opt for bold red and deep color lipsticks.
- If you’ve an olive skin tone, opt for nude, pink, orange, and red color lipsticks.
- If you’ve a darker skin tone, opt for deep plums, berries, and reddish-brown color lipsticks.
- If you’ve a cool skin tone, opt for pink, mauve, and purple color lipsticks.
To keep a natural look when trying a new lipstick color, opt for a tone close to the natural color of your skin. Remember, a lipstick brighter than your natural color may have a dulling effect on your complexion. A contrasting color is often a wiser option!
2. How to Choose the Right Texture of the Lipstick
Depending on your preference or the occasion, you can choose lipsticks by its texture. Texture ranges from matte type lipsticks with long-lasting colors to gloss type products with sheer, translucent coloration.
- Creamy lipsticks - are perfect for women who seek defined coloration and have little time for makeup touch-ups during the day. Creamy texture lipsticks are an excellent choice for women with full lips, as they make the lips look firmer and tauter. When applying lipstick with striking coloration and comparatively low translucence, try adding a touch of blusher to your cheeks to round off the color.
- Sheer lipsticks - make the lips appear fuller and plumper. It makes the ideal option for women who want to add dimension to their lips. Due to the reflection of the light, the colors of the sheer lipsticks appear more subdued and natural. If you love to apply red lipsticks, but prefer to keep the color subtle and natural, try a sheer lipstick in red.
3. Selecting the Best Texture for Your Age
The color and tone of your lips may diminish with the passing years. If you feel your lips have lost its original charm, try a lipstick with good coloration instead of a sheer or gloss texture.
Tip: Don’t share lip cosmetics! Sharing makeup products can spread cold, flu, and cold sores. Always check the back of the product to make sure you are not allergic to the ingredients in your lipstick or lip gloss.
APPLYING A LIPSTICK
1. Before Application
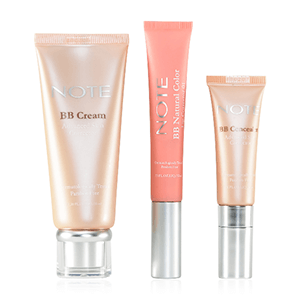
- Before applying lipstick, accentuate your lip contours with foundation or concealer. It’ll bring about a beautiful finish even without a lip liner.
- If you want to adjust your lip outline, apply foundation as thinly as possible over the area you wish to cover. The thickly applied foundation may peak through the lipstick with the frequent movement of the lips, which will not look very flattering.
- A primer coat of lip essence or balm will improve the lipstick color, hide vertical lines, and prevent dryness.
2. Accentuate Your Lip Contours!
- Well-defined contour is a key when using a lipstick with intense coloration.
- The secret of beautiful contours is a lip brush.
- If you’re using a lipstick with intense coloration, ensure to apply the lipstick into the lip corners for a sophisticated and beautiful finish.
- For best results, use a lip liner to accentuate the lip contours and improve the lipstick hold.
Tip: Lip liners should coordinate with your lipstick color. Make sure to buy them together!
QUICK TIPS FOR FRESH AND GERM-FREE MAKEUP
Your makeup could be a breeding ground for bacteria. Use these tips to keep your makeup bacteria-free, so your skin stays pimple and infection free:
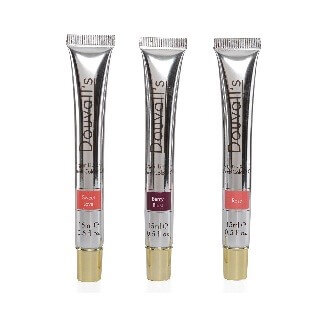
1) Prefer Tubes Over Jars
According to a leading survey, if you’re using beauty products which come in jars, you’re doing more harm to your skin. Jars have a wide-open surface, and when you put your fingers in, the bacteria in your hands have free access to the jar. It’s always safer to use a tube because you only squeeze out the little that you need; the rest stays germ-free. However, you should always wash your hands and dry them with a clean towel before handling makeup.
2) Clean the Tip of The Lipstick Before Each Use
When putting on lipstick, make sure that you wipe the tip clean before use. Germs live on the tip of your lipstick, and you’re more vulnerable to other bugs if your immune system is already weak. Cleaning and disinfecting the tip with a wipe will ensure that your lipstick is not carrying your flu germs. The safest way to avoid any skin problem is to keep your lipsticks clean.
3) Sharpen Your Makeup Pencil Every time Before Use
Every time you use makeup pencil, you’re putting bacteria on it! So, it is always recommended to sharpen your pencil with every use to shave off the bacteria. Shaving the top layer will remove infection-causing bacteria. You could also use a disinfectant wipe between every purpose.
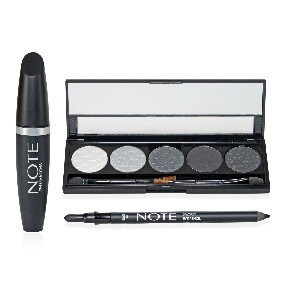
4) Clean Your Makeup Bag Regularly
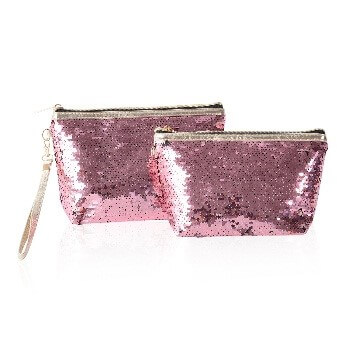
Clean your makeup pouch thoroughly once a month so that there are no bacteria in the bag. Also, it’s also not a good idea to take your cosmetic bag into the bathroom and rest it atop counters, where they pick up bacteria. Always place a tissue paper before keeping your bag on the bathroom counters. And don’t even make a mistake of leaving your makeup bag lying in the open in your car. Heating up of the pouch will cause the preservatives inside the cosmetics to degenerate.
5) Keep Liquid Makeup in the Refrigerator
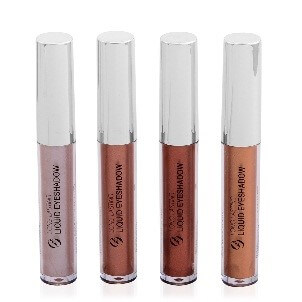
It’s essential to keep liquid makeup in the refrigerator, especially if you tend to use a single jar of product for an extended period or live in a warm climate. Make sure to shake liquid products well before using, such as foundation, moisturizer, and eyeliner. There’s no way to clean liquid makeup. If they start to smell differently, change color, or irritate, there might be a problem. Then, throw it away. Always keep a look at the expiration date of the cosmetics.
6) Sanitize Your Makeup Kit Periodically
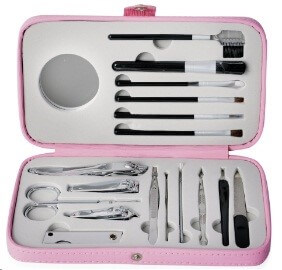
Sanitize makeup kit, products, tools, and bags regularly with a spray bottle filled with isopropyl alcohol from the drugstore. Makeup brushes can harbor bacteria, so clean them often with a gentle soap or with a non-alcohol spray brush cleaner and lay them on a paper towel to dry.
7) Disinfect Eyelash Curler After Every Use
Eyelash curler keeps clumping with more and more mascara application, helping the bacteria to grow. The un-cleaned curler can harbor organisms that may get into your eyes and cause irritation and infection. Disinfecting after each use will make it lasts a lifetime no matter how frequently you use it.
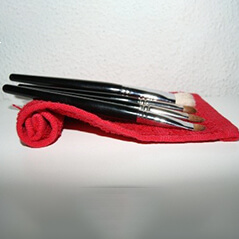
Do you know that your body absorbs 2.3 kg of cosmetics every year? Shocking, isn’t it? Therefore try to ditch the makeup once in a while and let your skin breathe. And be extra cautious with these chemicals, because it’s your face you’re dealing with.
Tip: Always make sure to wash your hands or use a hand sanitizer before using cosmetics to reduce the transfer of bacteria into your makeup by as much as 99%.